Mining can take forever! That’s why sometimes it is necessary to pair the most efficient Pickaxe you got with a Haste Beacon. While making a Haste Beacon is no big deal, a Haste II Beacon takes a lot more effort. But it can be worth it!
To get a Haste 2 Beacon you need to create a 9 blocks base pyramid, place the Beacon on top, activate it and select the Haste 2 status effect. The pyramid has to be full (no empty blocks) and made out of Iron, Diamond, Gold, Emerald or Netherite blocks.
Today we are here to see what the Haste effect is, how to craft a Beacon, how to build a Haste I Beacon and how to build a Haste II Beacon. Let’s start!
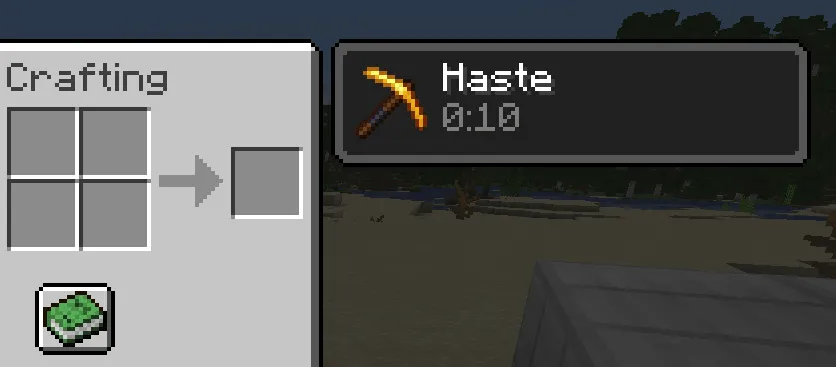
What is the Haste effect?
Haste is a status effect that makes players attack faster (+10% per level) and mine faster (+20% per level). A Haste II status effect (20% faster attacks and 40% faster mining) paired with an Efficiency V Pickaxe makes you mine Stone blocks instantly!
To see how to get the Efficiency enchantment (and every other enchantment in the game as well) you can check here.
How to craft a Beacon
To craft a Beacon you will need 5 Glass blocks, 3 Obsidian blocks and one Nether Star. You can get the Nether Star as loot when you kill a Wither (related topic: Everything about Minecraft Potion of Decay). A Wither always drops exactly one Nether Star, even if you use a Loot enchanted weapon to kill it.
Once you have all the crafting materials, put them together in the Crafting Table.
When you have your Beacon, dont’ worry about placing it in the perfect spot: it always drops as an item when you break it, even without using a tool.
How to build a Haste Beacon
A Haste I Beacon is pretty easy to build. You will only need 9 Iron blocks. You can also use Gold blocks, Diamond blocks, Emerald blocks and Netherite blocks, but Iron is easier to get (related: Is Gold stronger than Iron?). To craft 9 Iron blocks you will need 81 Iron Ingots:

You just need to make a 3×3 square using the 9 Iron blocks.
Then place the Beacon on top of the square, at the center.
This simple structure is enough to provide the Haste I effect. To activate it, right-click on it and select the Haste icon.
Then place an Iron Ingot in the Beacon and click on the green check icon. Again, you can also use a Diamond for example, but the Iron Ingot is less valuable and easier to get.
Now you will see that you have the Haste status effect as long as you are inside a 384 blocks radius from the Beacon.
How to build a Haste 2 Beacon
Building a Haste II Beacon will be more resources demanding. To get any Beacon effect amplified to the second level, the pyramid underneath needs to have a 9×9 base. This means that you need to build a 9×9 base, then a 7×7 level, a 5×5 level, a 3×3 level.
This also means that you will need 164 Iron blocks, which is the equivalent of 1476 Iron Ingots! It is a lot of Iron, so you could consider building an Iron Golem farm (related topic: Do Iron Golems despawn?). You can check the video below that explains how.
Once you have gathered enough Iron blocks (or Diamonds blocks, Emerald blocks or the others), build all the levels without leaving empty gaps and place the Beacon on top.
Now activate it by right-clicking on it, select Haste on the left and Haste II on the right.
Now place an Iron Ingot in the Beacon and click on the green check icon as we saw before and you will see that you have the Haste II status effect, as long as you are inside a 384 blocks radius from the Beacon.
Conclusions
To get the Haste 2 Beacon you need to build a 9 blocks base pyramid using Iron blocks and place the Beacon on top. Then activate it and select the Haste 2 effect. A Haste 2 Beacon requires a lot more resources than the Haste 1 Beacon, so you should consider building an Iron Golem farm. Thank you very much for reading the article this far and I hope I’ll see you again around here. See you and take care!